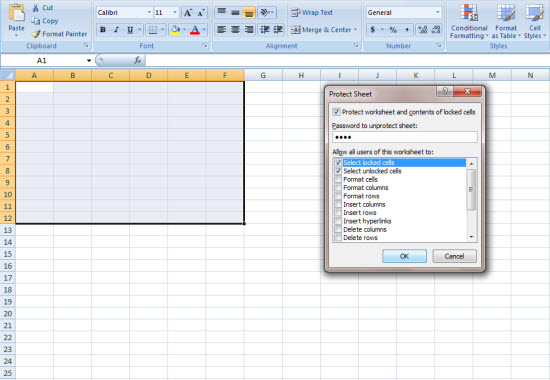
To prevent a user from accidentally or deliberately changing, moving, or deleting important data from cells of your worksheet or workbook, you can protect certain worksheet or workbook elements, with or without a password. You can remove the protection from a worksheet as needed.
This article describes how to lock individual cells in a Microsoft Excel worksheet. The procedure to use depends on whether you want the majority of the cells on the worksheet to remain locked or unlocked.
If You Want the Majority of Cells Locked then follow these simple steps:
Select the cells that you want to remain unprotected. To select nonadjacent (noncontiguous) cells, hold down CTRL and click the cells that are to remain unprotected.
On the Format menu, click Cells, and then click the Protection tab.
Click to clear the Locked check box and click OK.
On the Tools menu, point to Protection, and then click Protect Sheet. Type a password if you want one, and then click OK.
The cells you needed to lock will be locked.
Secondly, If you Want the Majority of Cells to be Unlocked, follow these steps:
Select the entire worksheet by clicking the Select All button (the gray rectangle in the upper-left corner of the worksheet where the row 1 and column A headings meet), or by pressing CTRL+A or CTRL+SHIFT+SPACEBAR.
On the Format menu, click Cells, and then click the Protection tab. Click to clear the Locked check box and click OK.
Select the cells that you want to protect. To select nonadjacent (noncontiguous) cells, hold down CTRL and click the cells that you want to protect.
On the Format menu, click Cells, and then click the Protection tab. Click to select the Locked check box, and then click OK.
On the Tools menu, point to Protection, and then click Protect Sheet. Type a password, if you want one, and then click OK.

